FluentCRM is one of the best email marketing and feature rich CRM solutions for WordPress. LiquidPoll team is very glad to share, now you can enjoy the features of FluentCRM and segment the Poll responses based on tags and lists.
Follow these simple steps with us and distribute the user responses into the FluentCRM database instantly.
Plugins Required: #
- LiquidPoll Free or LiquidPoll Pro
- FluentCRM Free or FluentCRM Pro
- LiquidPoll – FluentCRM Integration Plugin
LiquidPoll – FluentCRM Integration is a simple integration plugin. This plugin is applicable both for LiquidPoll Free and Pro version and FluentCRM Free and Pro version.
Step 1: Install and Activate the Plugins #
1) Installing the three plugins is easier than you think. To download and activate the LiquidPoll Free and FluentCRM Free, go to Plugins> Add New.
2) Search for “LiquidPoll”, “FluentCRM”, and click “Install Now.”
3) After you have installed both of the plugins, select “Activate.” Now you have both the free versions of these two plugins installed in your dashboard.
To know more about LiquidPoll Pro/ FluentCRM Pro download, please visit these links below:
Installing LiquidPoll – FluentCRM Integration Plugin: #
Since LiquidPoll – FluentCRM Integration is a plugin, you can install it easily by following a few simple steps. And if you are already familiar with WordPress plugins, this step is merely essential for you.
1) Go to Plugins> Add New.
2) Search for LiquidPoll – FluentCRM integration by LiquidPoll. Once you have found it, repeat the same process mentioned above. Select “Install Now” and then Activate the plugin.
It’s done! The integration plugin is successfully installed and integrated with the core plugin LiquidPoll. You can adjust the FluentCRM settings as per your requirement now. Let’s see how it shall be done.
Step 2: Settings – FluentCRM with LiquidPoll #
With LiquidPoll, you can create multi choice polls and let the audience have a fun and exciting experience on your website. Using the LiquidPoll – Fluent Integration plugin, you can segment the poll responses into tags and/ or lists and get reports from the FluentCRM database.
How does it help you? Distributing Poll Responses into different Tags or Lists helps to learn about users’ behaviour and use this information to offer a better user experience and develop a creative service.
Here’s how you can segment Poll responses using LiquidPoll – FluentCRM Integration:
You can tag/ list poll participants following these three options or in combination of these three:
- Options: While creating different poll options, you can select different FluentCRM tags for participants who will be choosing a specific option.
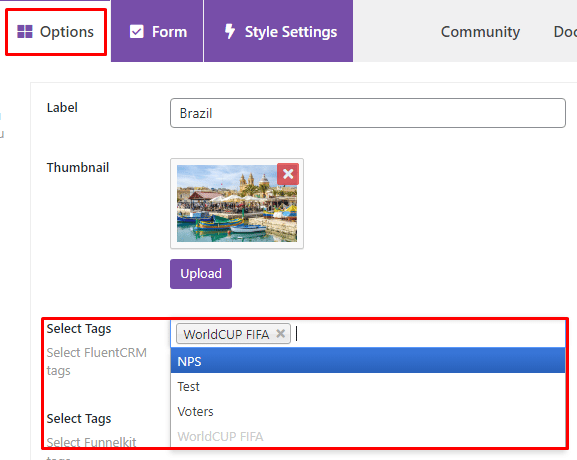
You can select multiple tags if you want. This integration plugin allows you to put poll responses into multiple tags/ lists.
- Lead Form Submission: You can enable email collection form to gather more information about participants. Using the LiquidPoll – FluentCRM integration plugin, you can also segment the form responses into tags or lists. This feature allows you to enlist the form responses both in (1) tags or (2) lists or you can add the submissions both in tags and lists.

But before you can unlock these two features for form submissions, you have to enable Integration at first. Go to LiquidPoll> Add Polls> Form> Enable Integration. You can find all the setting options from here and assign different tags for different poll labels from the Options.
Important Note: LiquidPoll – FluentCRM Plugin is only applicable for multichoice polls. This feature is not available for NPS or Reaction Poll for now.
Step 3: Getting Reports from FluentCRM #
To check on the reports collected from poll responses, you have to check into the FluentCRM database. Here is how you can do it:
1) Go to FluentCRM> Dashboard.
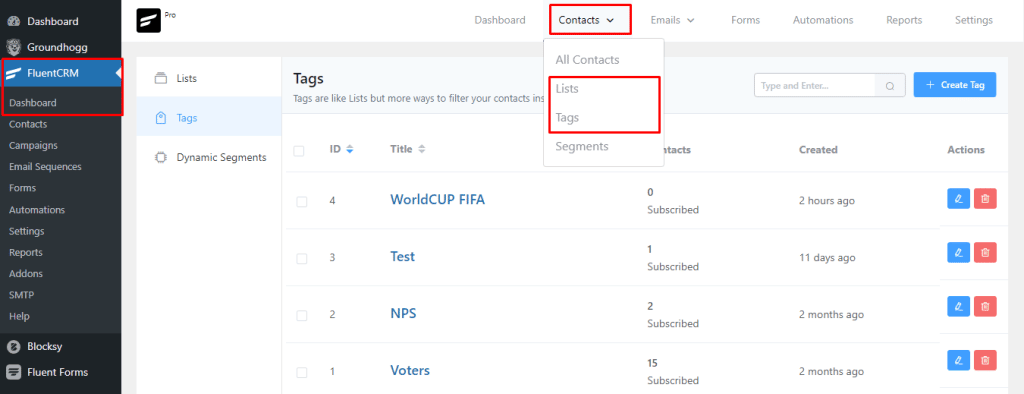
2) Go to Contacts and from the drop down menu, you will find several options including Lists and Tags.
3) Click on Tags and you will see a list of all defined tags. You can select any one of them and find the subscribers under this tag.
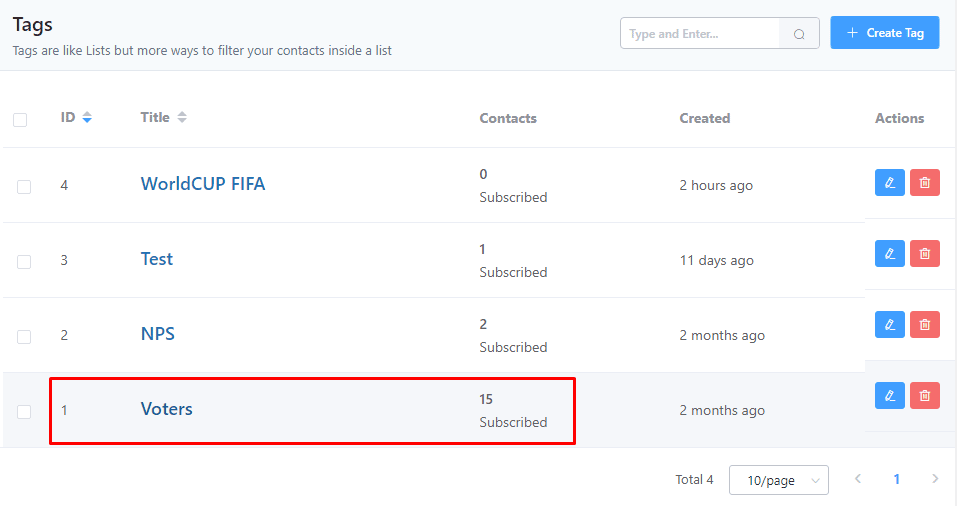
For example, click on the Title Name: Voters and you will find 15 different subscribers who were assigned under this tag. You can also edit or delete the tags from here.
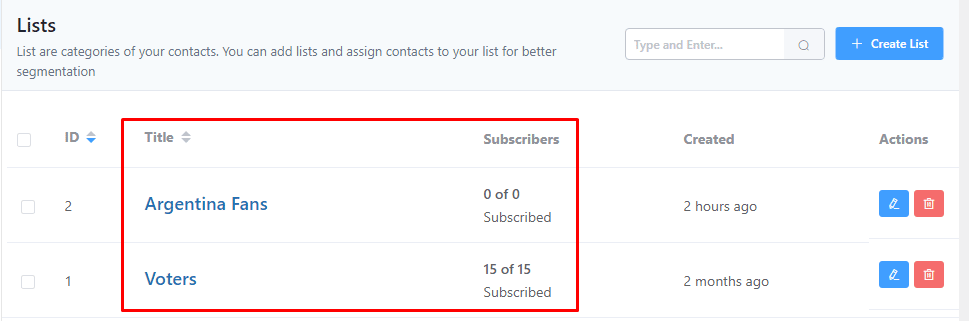
4) You can also check poll responses under specific Lists in the same way.
Creating New Tags and Lists With FluentCRM #
Creating new tags and lists comes with a few simple steps. You can know more about FluentCRM Tags and Lists here.
1) Go to FluentCRM> Contacts> Lists> + Create List. You will see a box appear like this:
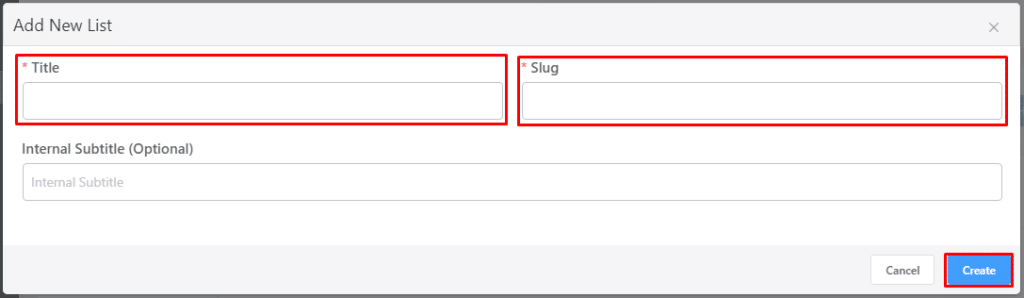
Set a name for the list you want to create. A slug will automatically appear. You can also change the slug as per your preference.
You can also insert a subtitle but that’s optional. When you are all done with the information, click “Create.” Now you can use this list and segment user responses accordingly.
2) Go to FluenCRM> Contacts> Tags> + Create Tag.
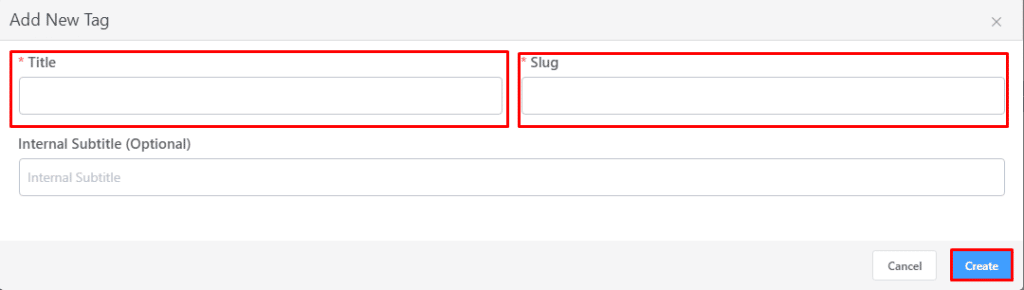
This is the same box as the one you had while creating a new list. You can follow the steps above and create a new tag from here.
This was all for getting started with FluentCRM into LiquidPoll. If you have anymore inquiry, please contact our support team here.